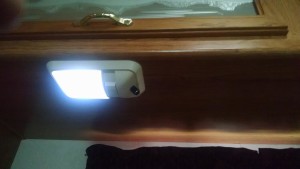
 The first time we slept in the Mirada, we both agreed, the reading lamps above the bed are nice and bright for reading, but needed dimmers for watching TV or whatever else.
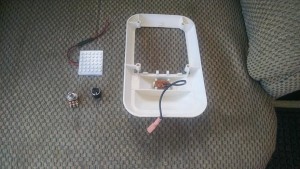
I replaced all the interior lights with LED panels mainly to reduce electrical use and to modernize the interior. I ran a couple tests to see what the current draw was and decided to use a 500 ohm variable resistor as the dimmer.
I ordered the 500 ohm pots and knobs on e-bay, Here are some examples:
CLICK HERE for Knobs
When I installed the LED panels, I didn’t use the kind that screw into the existing bulb base, Instead, I glued the LED panels directly to the ceiling (bottom of the cabinets).
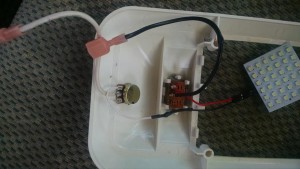
Modifying the fixture was easy, drill a hole and mount the pot in the fixture, then wire it all together. Use a small wire tie to secure the wires as there is a lot of vibration and the wires could break.
ALSO – When soldering the wires onto the pot, be careful with to much solder or heat on the terminals. I ruined the first one I did, I’m not sure if flux got down inside the pot but it was very intermittent. On the next one I did, I was careful to use minimum solder, and keep it far out on the pot connectors.


We added the dimmer to both the bedroom headboard LED lights and also modified one of the single light hallway LEDs.
IMPORTANT – Adding this dimmer pot will not work with an incandescent light bulb (to many watts). The light fixture must use an LED.
After several months of usage, the pots work great, The lights are nice and bright when reading, but can be turned way down when watching TV.

